Business Card Dungeon Delve (Session 1)

Quick and deadly, but the adventure was satisfying!
Recently, I got an opportunity to play Melv Lee's Business Card Dungeon Delve, which I discovered through Melv's own excellent YouTube channel. The premise of playing a RPG lite delver like this really appealed to me, so I decided to give it a shot. In order to make play easier, I printed each business card sheet full-sized and inverted the colors to make it more printer friendly. (The original is glossy black with white lettering.)

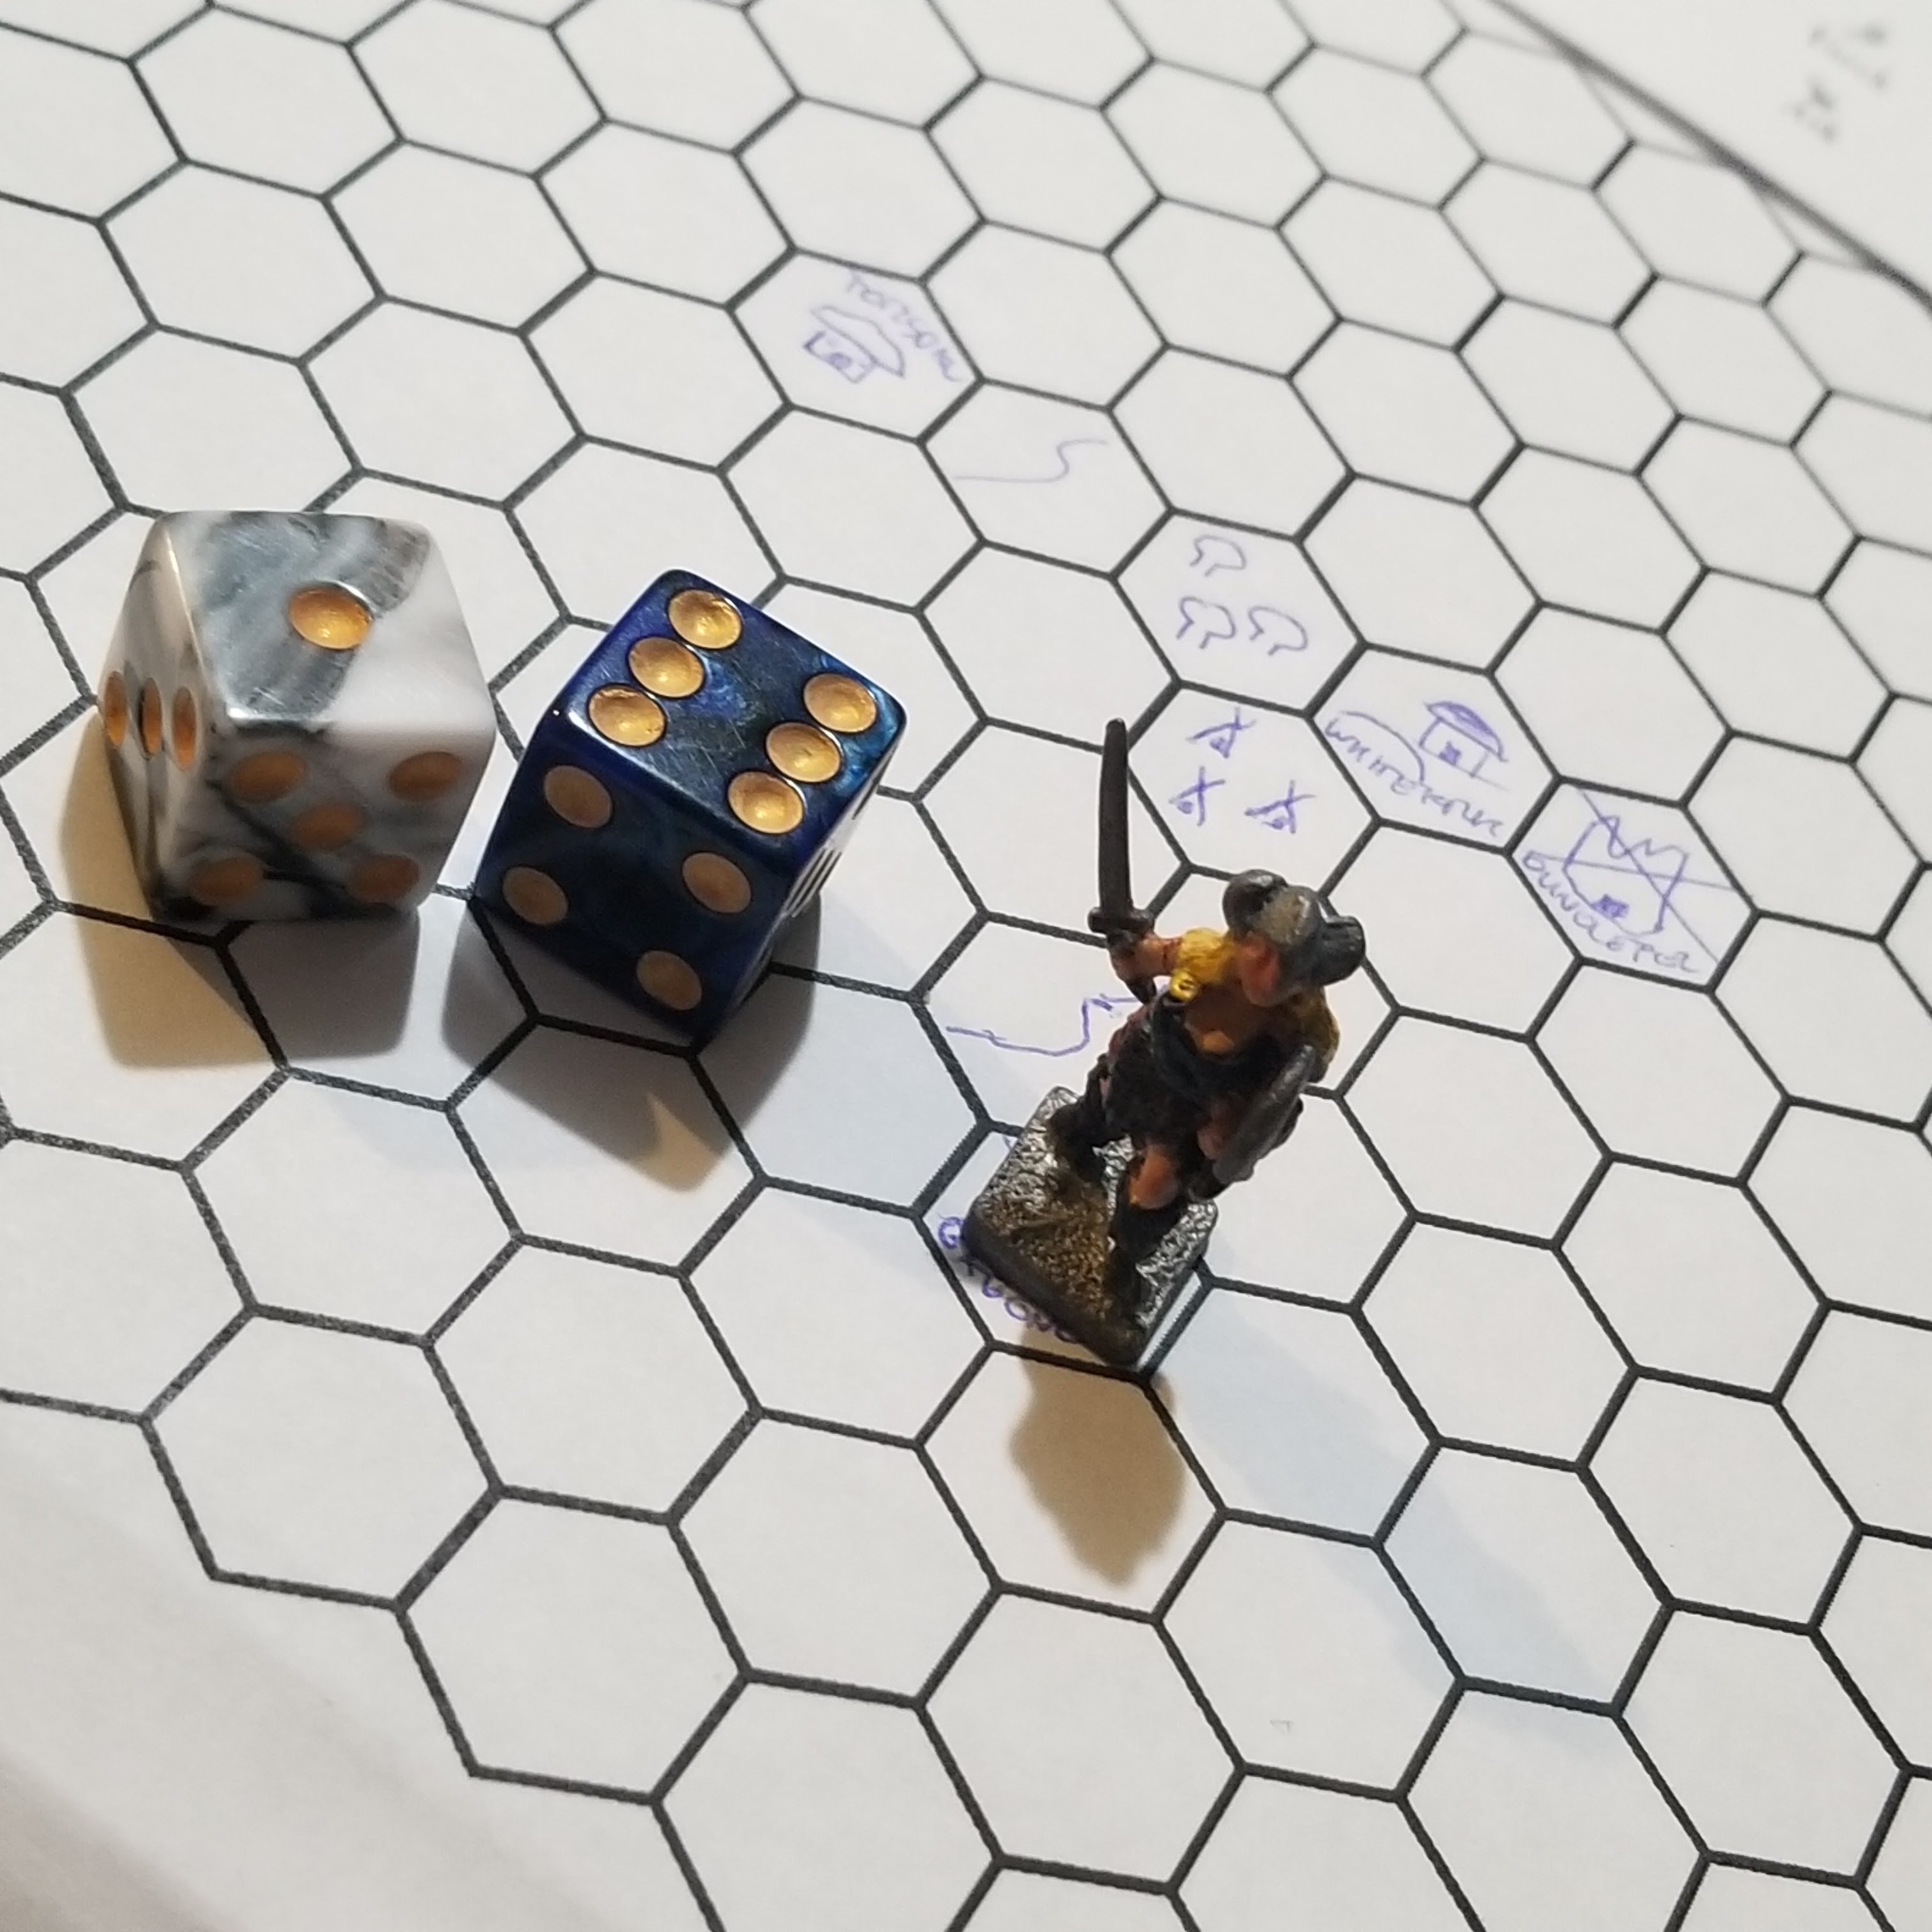
To start, I decided to dig out one of my old D&D miniatures from high school, a female barbarian with a horned helm and a rather beaten-looking short sword. For this adventure, I'll call her Rota, and we'll say that she hails from Torsdal Village in Nortlund. A record of her short and bloody adventure follows.
Setting out from the village of Torsdal, Rota Tyrsdottir goes on a quest to deliver a series of divine talismans to travelers in the woods of Nortlund. On the first day of her journey, she encounters a swiftly moving river, but in trying to cross it, she is swept away. Disheartened and only slightly injured, she continues on. Shaking the water out of her furs, she suddenly finds herself faced with a thug eager to steal her meager gold and gear.

Fortunately, she easily defeats the thug, beating him for his insolence, then continues on, eating a pound of rations as she goes. The next day, she travels through a forest and finds enough berries to round out her rations and come out ahead. She also takes the time to go hunting, and though she doesn't turn up any additional meat, she does find a couple of stout torches which she plans to use when she reaches the dungeon she's journeying toward.
Day three finds her crossing a wide plain, where she finds herself face-to-face with another thug. This one is more cunning than the last, but she still bests him without taking any damage and gains three gold.
On day four, just as she nears the ruins of Castle Dundlefel, she tries to tackle a large hill, but it only exhausts her and she has to eat a lot of rations to make her way to the top. At the top of the hill, she finds another settlement, the Village of Whitekirk, but instead of stopping (and despite being almost completely out of food) she pushes on.

The next day, she reaches the ruins of Castle Dundlefel, and a quick glance at the layout of the dungeon reveals that it has four rooms. Pushing on into the first room, it reveals itself as a passage with a pile of gold in the floor. Rota quickly gathers the gold, counting out 70 pieces and putting her more than halfway to her goal of 120 that she needs in order to buy a farm and retire.
In the next room, a series of crypts, she unwittingly sets off a poison dart trap and takes two damage. To stay at full health, she quickly quaffs the healing potion she brought with her and continues on, encountering a wild-eyed barbarian who beats her up before fleeing, screaming into the distances as he goes.
Room 3 turns out to be a passage with a dagger stuck in the ribcage of a corpse. Pulling it free, she takes it with her and proceeds to the final room, another series of crypts where the ceiling caves in and damages her for 1 point. Fortunately, it turns out that the cave-in was caused by a dwarven miner and, impressed by Rota's strength as she unburies herself, he gives her all of the gold he has on him (ten pieces) and she gifts him with a divine talisman in return.

Returning to the village of Whitekirk, Rota exhausts herself so much from running up that hill that she runs out of food and takes two damage. Despite the fact that she feels very comfortable with the 88 gold she has collected, Rota also realizes that you've got to spend money to make money, so she invests 75 gold in training, giving herself two points in Strength and one point in Dexterity. With her remaining gold, Rota buys six pounds of rations and six torches, then spends the night listening to rumors about where she can find more adventure.
The next day, she sets off for the ruins of Castle Babongi, which are said to lie 3 days journey due south.
During the first day of her journey south, she wanders into the abandoned campsite of some hunters. Pickings are rich, so Rota helps herself to four pounds of rations and rests. The next day, she arrives at a river, which she wades through with relative ease. Unfortunately, waiting on the other side is a stealthy assassin.

(Despite her stealthy appearance, Star wasn't the assassin in question.)
The assassin almost gets the drop on her, but Rota pushes him aside and takes his treasure, a sum of fifty gold! Before the assassin can slink off, however, she also gives him a divine talisman and a prayer for better luck in tracking and killing his actual target, a bandit who only superficially looks like Rota.
Making her way south along the river, Rota gets swept up in a flash flood and takes one point of damage. Fortunately, the hunting in the grove where the flood deposits her is good, so she manages to catch enough rabbits to increase her rations by another two pounds. Camping that night, she spots the ruins of Castle Babongi glowing eerily in the distance, and she makes ready to delve into it.
A cursory look at the dungeon's layout reveals four rooms, and so Rota makes her way inside, weapon at the ready.
The first room, a series of crypts, turns out to be very hazardous. A horrible gas rushes out of one of the tombs as she passes, but drawing on her experience of weathering her brother's horrible farts in the mead halls of Torsdal, Rota holds her breath and pushes on, suffering no ill effects. Unfortunately, her haste to avoid the stench puts her in the middle of a maze that takes her a long time to find her way back out of. In the end, she burns through an additional torch before she makes it out.
The next room turns out to be a passage, completely empty and devoid of anything of interest. Exciting!
Making her way into another passage, Rota quickly finds herself facing a heavily armed and armored guardian. Readying herself for battle, she charges the guardian, but he parries her hit and stabs her before she can recover. Nursing her wounds, she quickly realizes that, as heavy as the guardian's armor is, she's likely to die if she tries to square off against him, so she attempts to flee. Fortunately, she's fast enough that she slips past the guardian on the first attempt, and flees deeper into the ruin.
Unfortunately, she quickly discovers what the guardian was guarding-- a hermit king perched upon a throne with snarling orcs on either side of him.

Tackling the orcs first, Rota quickly surprises and slaughters one, but the other gets a hit in before she bests him. Now with 69 gold (nice) she faces the hermit king directly.
One look at her blood-stained blade and he decides that the wisest option is to call off his guardian and show Rota a secret way out of the castle. After their escape, the hermit king shares some of his stories with her about the old world and she gives him her last divine talisman. Spending the night resting, Rota is completely restored and refreshed the next day, ready to delve into the next dungeon!
Looking at her map, Rota decides to take an alternate route back to Whitekirk, traveling parallel to her old route in the hopes of finding more treasure. In Whitekirk, she knows that she'll be able to meet with the priest who originally gave her the quest and claim her reward for delivering the three divine talismans.
Unfortunately, the first day out, she finds herself mired in a swamp, stuck up to her knees in mud. Of course, it is at this most vulnerable moment that two wyverns ambush her, and she's forced to try to run away from them. Over and over again she tries to flee, but the wyverns are too fast and the mud too thick, so the two horrors pick at her and slowly slaughter her until she is nothing more than a pile of bones sinking into the fetid swamp.

And so ends the tale of brave Rota Tyrsdottir, hero of Thorsdal village. Will anyone recover her lost dagger and gold, or will they lie in the muck for ages yet to come? Only time will tell in the end.
- - -
In playing this game, I decided to take a few liberties, as there are places where specific ways to interpret the rules are left to the player's discretion. One of the biggest house rules I worked in was the use of a hex map, which makes the world feel more alive. Running away from multiple enemies was another area where I kind of had to fudge the rules, as it made sense that Rota would have to successfully run away from both enemies in order to escape, even if it was only one at a time. Even still, her poor rolls cost the brave warrior her life in the end, making me wish I'd invested in a resurrection point at Whitekirk instead. Ah well, next time!


asda.JPEG)

%20sh.jpg)
Comments
Post a Comment